## Summary

- **What is the goal of this PR?**
Implements wireless EPUB file management via a built-in web server,
enabling users to upload, browse, organize, and delete EPUB files from
any device on the same WiFi network without needing a computer cable
connection.

- **What changes are included?**
- **New Web Server**
([`CrossPointWebServer.cpp`](src/CrossPointWebServer.cpp),
[`CrossPointWebServer.h`](src/CrossPointWebServer.h)):
    - HTTP server on port 80 with a responsive HTML/CSS interface
    - Home page showing device status (version, IP, free memory)
    - File Manager with folder navigation and breadcrumb support
    - EPUB file upload with progress tracking
    - Folder creation and file/folder deletion
    - XSS protection via HTML escaping
- Hidden system folders (`.` prefixed, "System Volume Information",
"XTCache")

- **WiFi Screen** ([`WifiScreen.cpp`](src/screens/WifiScreen.cpp),
[`WifiScreen.h`](src/screens/WifiScreen.h)):
    - Network scanning with signal strength indicators
    - Visual indicators for encrypted (`*`) and saved (`+`) networks
- State machine managing: scanning, network selection, password entry,
connecting, save/forget prompts
    - 15-second connection timeout handling
    - Integration with web server (starts on connect, stops on exit)

- **WiFi Credential Storage**
([`WifiCredentialStore.cpp`](src/WifiCredentialStore.cpp),
[`WifiCredentialStore.h`](src/WifiCredentialStore.h)):
    - Persistent storage in `/sd/.crosspoint/wifi.bin`
- XOR obfuscation for stored passwords (basic protection against casual
reading)
    - Up to 8 saved networks with add/remove/update operations

- **On-Screen Keyboard**
([`OnScreenKeyboard.cpp`](src/screens/OnScreenKeyboard.cpp),
[`OnScreenKeyboard.h`](src/screens/OnScreenKeyboard.h)):
    - Reusable QWERTY keyboard component with shift support
    - Special keys: Shift, Space, Backspace, Done
    - Support for password masking mode

- **Settings Screen Integration**
([`SettingsScreen.h`](src/screens/SettingsScreen.h)):
    - Added WiFi action to navigate to the new WiFi screen

  - **Documentation** ([`docs/webserver.md`](docs/webserver.md)):
- Comprehensive user guide covering WiFi setup, web interface usage,
file management, troubleshooting, and security notes
    - See this for more screenshots!
- Working "displays the right way in GitHub" on my repo:
https://github.com/olearycrew/crosspoint-reader/blob/feature/connect-to-wifi/docs/webserver.md

**Video demo**


https://github.com/user-attachments/assets/283e32dc-2d9f-4ae2-848e-01f41166a731

## Additional Context

- **Security considerations**: The web server has no
authentication—anyone on the same WiFi network can access files. This is
documented as a limitation, recommending use only on trusted private
networks. Password obfuscation in the credential store is XOR-based, not
cryptographically secure.

- **Memory implications**: The web server and WiFi stack consume
significant memory. The implementation properly cleans up (stops server,
disconnects WiFi, sets `WIFI_OFF` mode) when exiting the WiFi screen to
free resources.

- **Async operations**: Network scanning and connection use async
patterns with FreeRTOS tasks to prevent blocking the UI. The display
task handles rendering on a dedicated thread with mutex protection.

- **Browser compatibility**: The web interface uses standard
HTML5/CSS3/JavaScript and is tested to work with all modern browsers on
desktop and mobile.

---------

Co-authored-by: Dave Allie <dave@daveallie.com>
8.2 KiB
Web Server Guide
This guide explains how to connect your CrossPoint Reader to WiFi and use the built-in web server to upload EPUB files from your computer or phone.
Overview
CrossPoint Reader includes a built-in web server that allows you to:
- Upload EPUB files wirelessly from any device on the same WiFi network
- Browse and manage files on your device's SD card
- Create folders to organize your ebooks
- Delete files and folders
Prerequisites
- Your CrossPoint Reader device
- A WiFi network
- A computer, phone, or tablet connected to the same WiFi network
Step 1: Accessing the WiFi Screen
- From the main menu or file browser, navigate to the Settings screen
- Select the WiFi option
- The device will automatically start scanning for available networks
Step 2: Connecting to WiFi
Viewing Available Networks
Once the scan completes, you'll see a list of available WiFi networks with the following indicators:
- Signal strength bars (
||||,|||,||,|) - Shows connection quality *symbol - Indicates the network is password-protected (encrypted)+symbol - Indicates you have previously saved credentials for this network
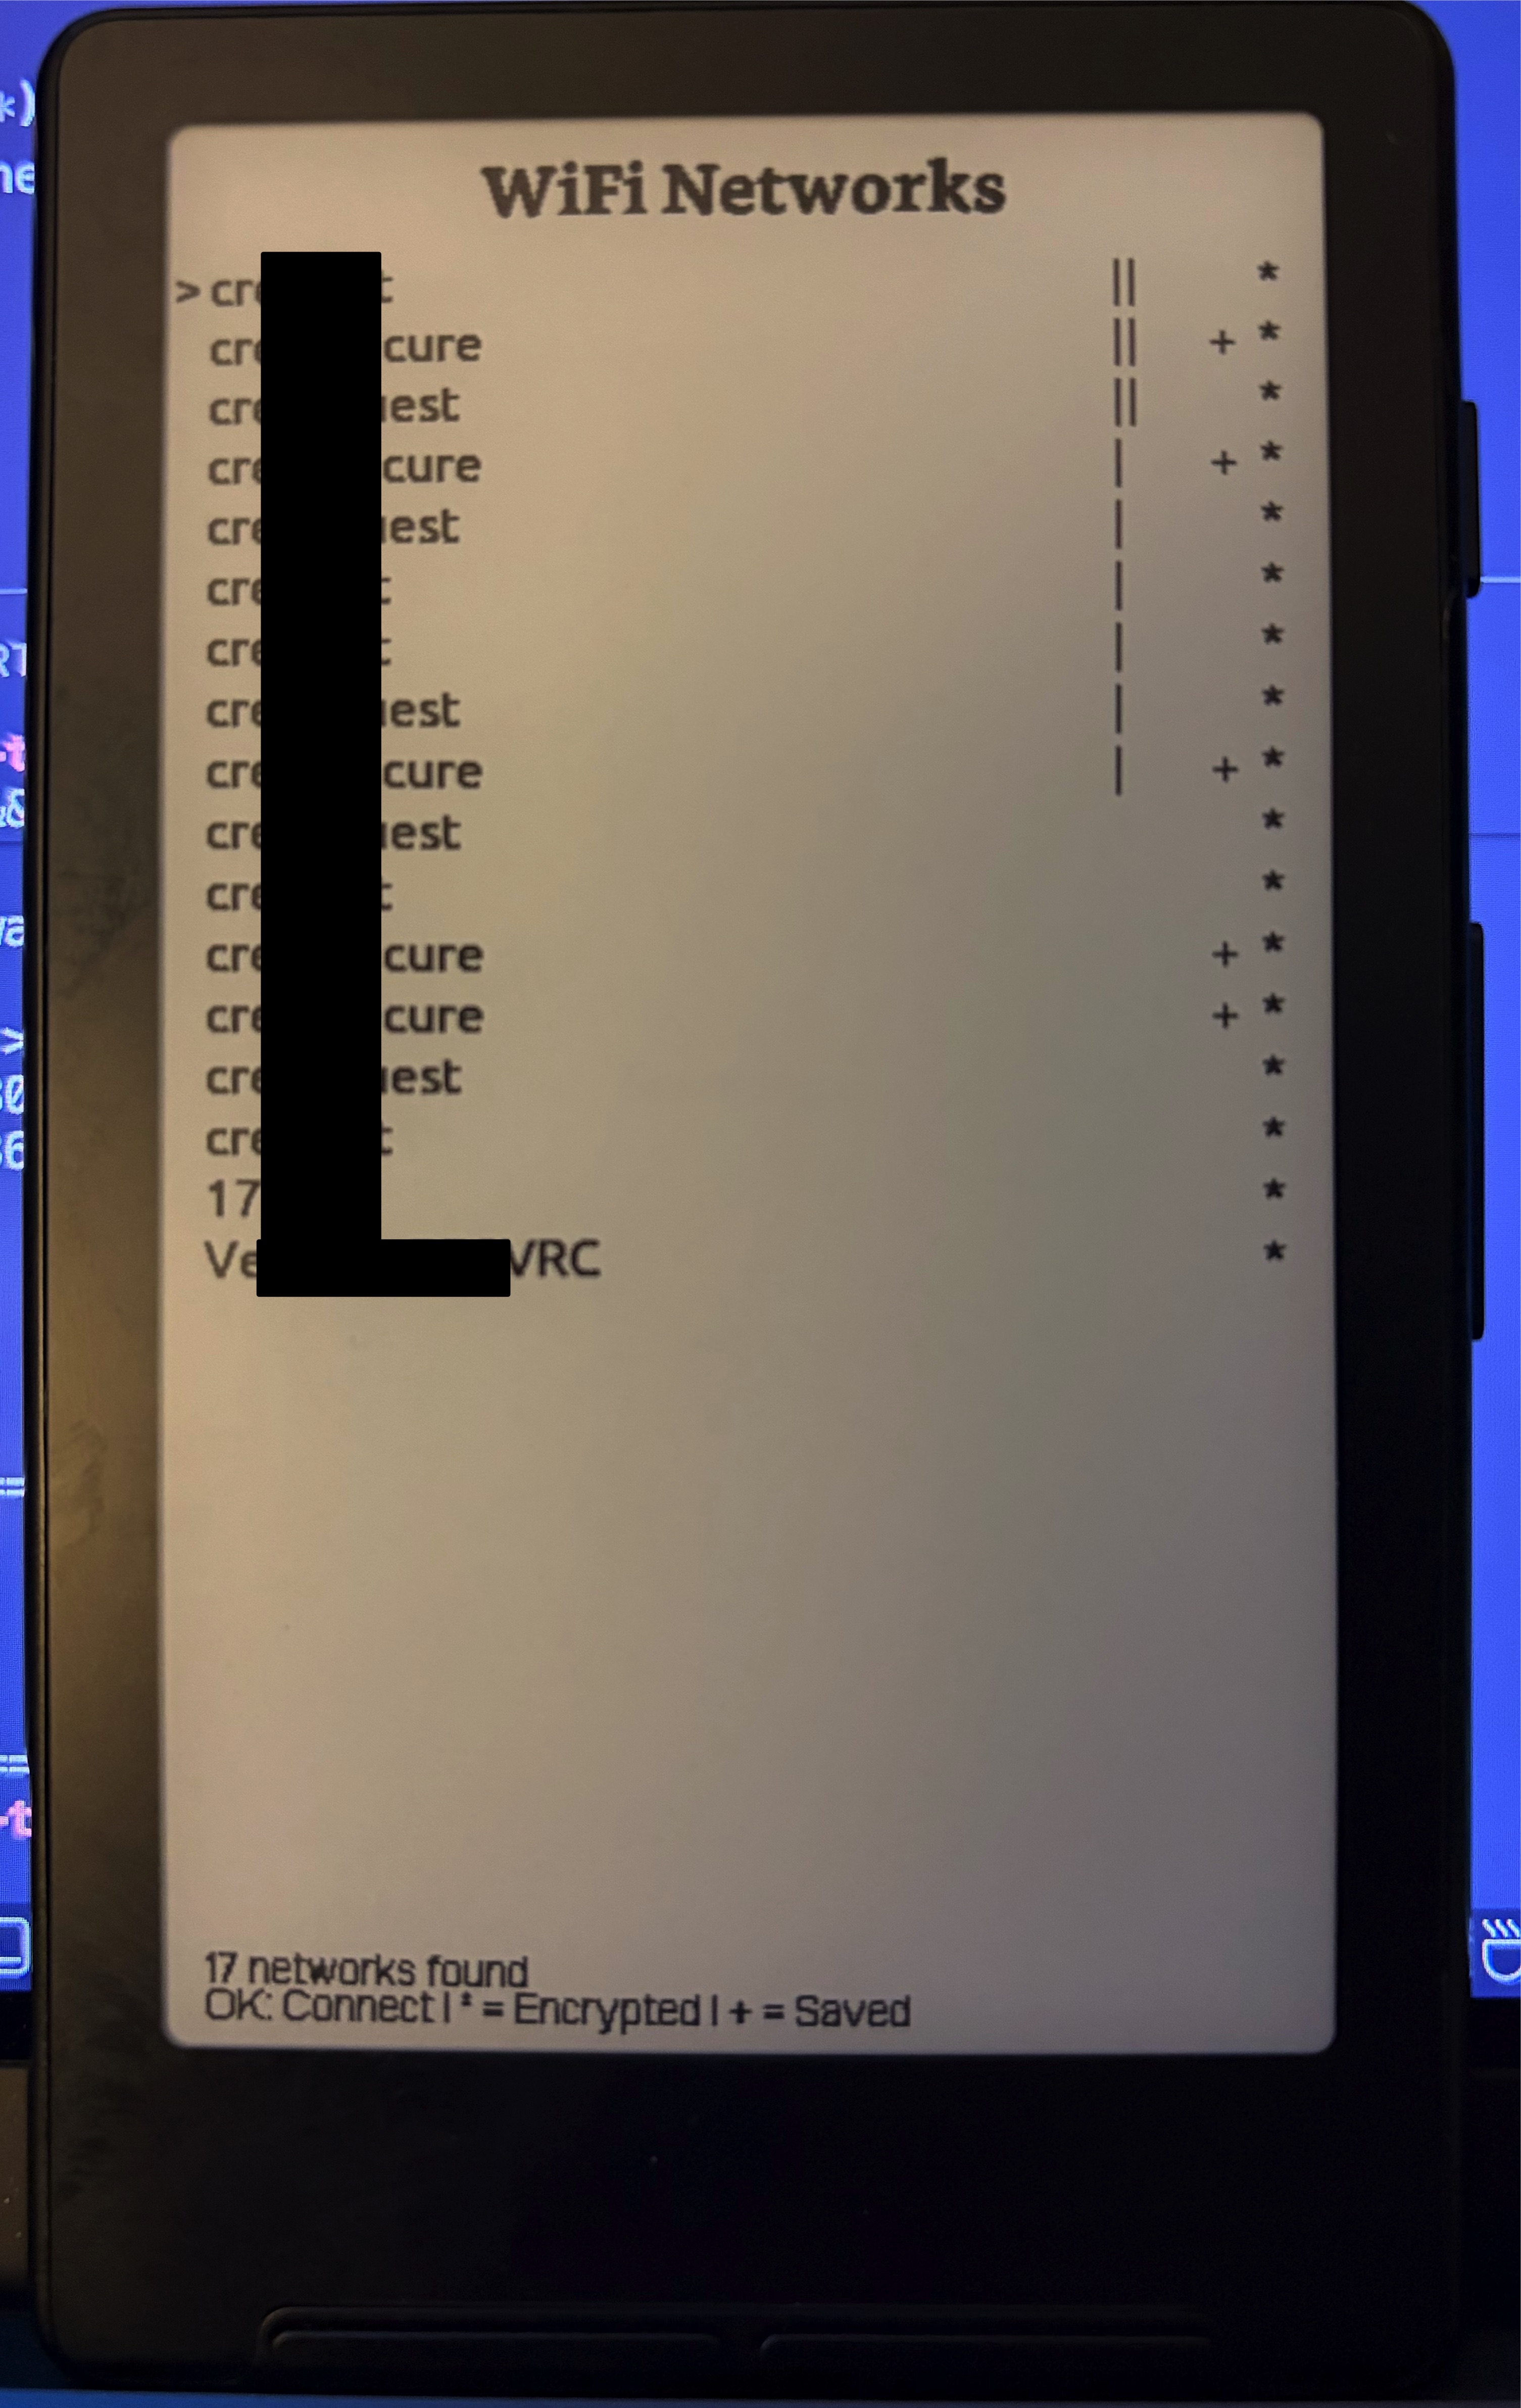
Selecting a Network
- Use the Left/Right (or Volume Up/Down) buttons to navigate through the network list
- Press Confirm to select the highlighted network
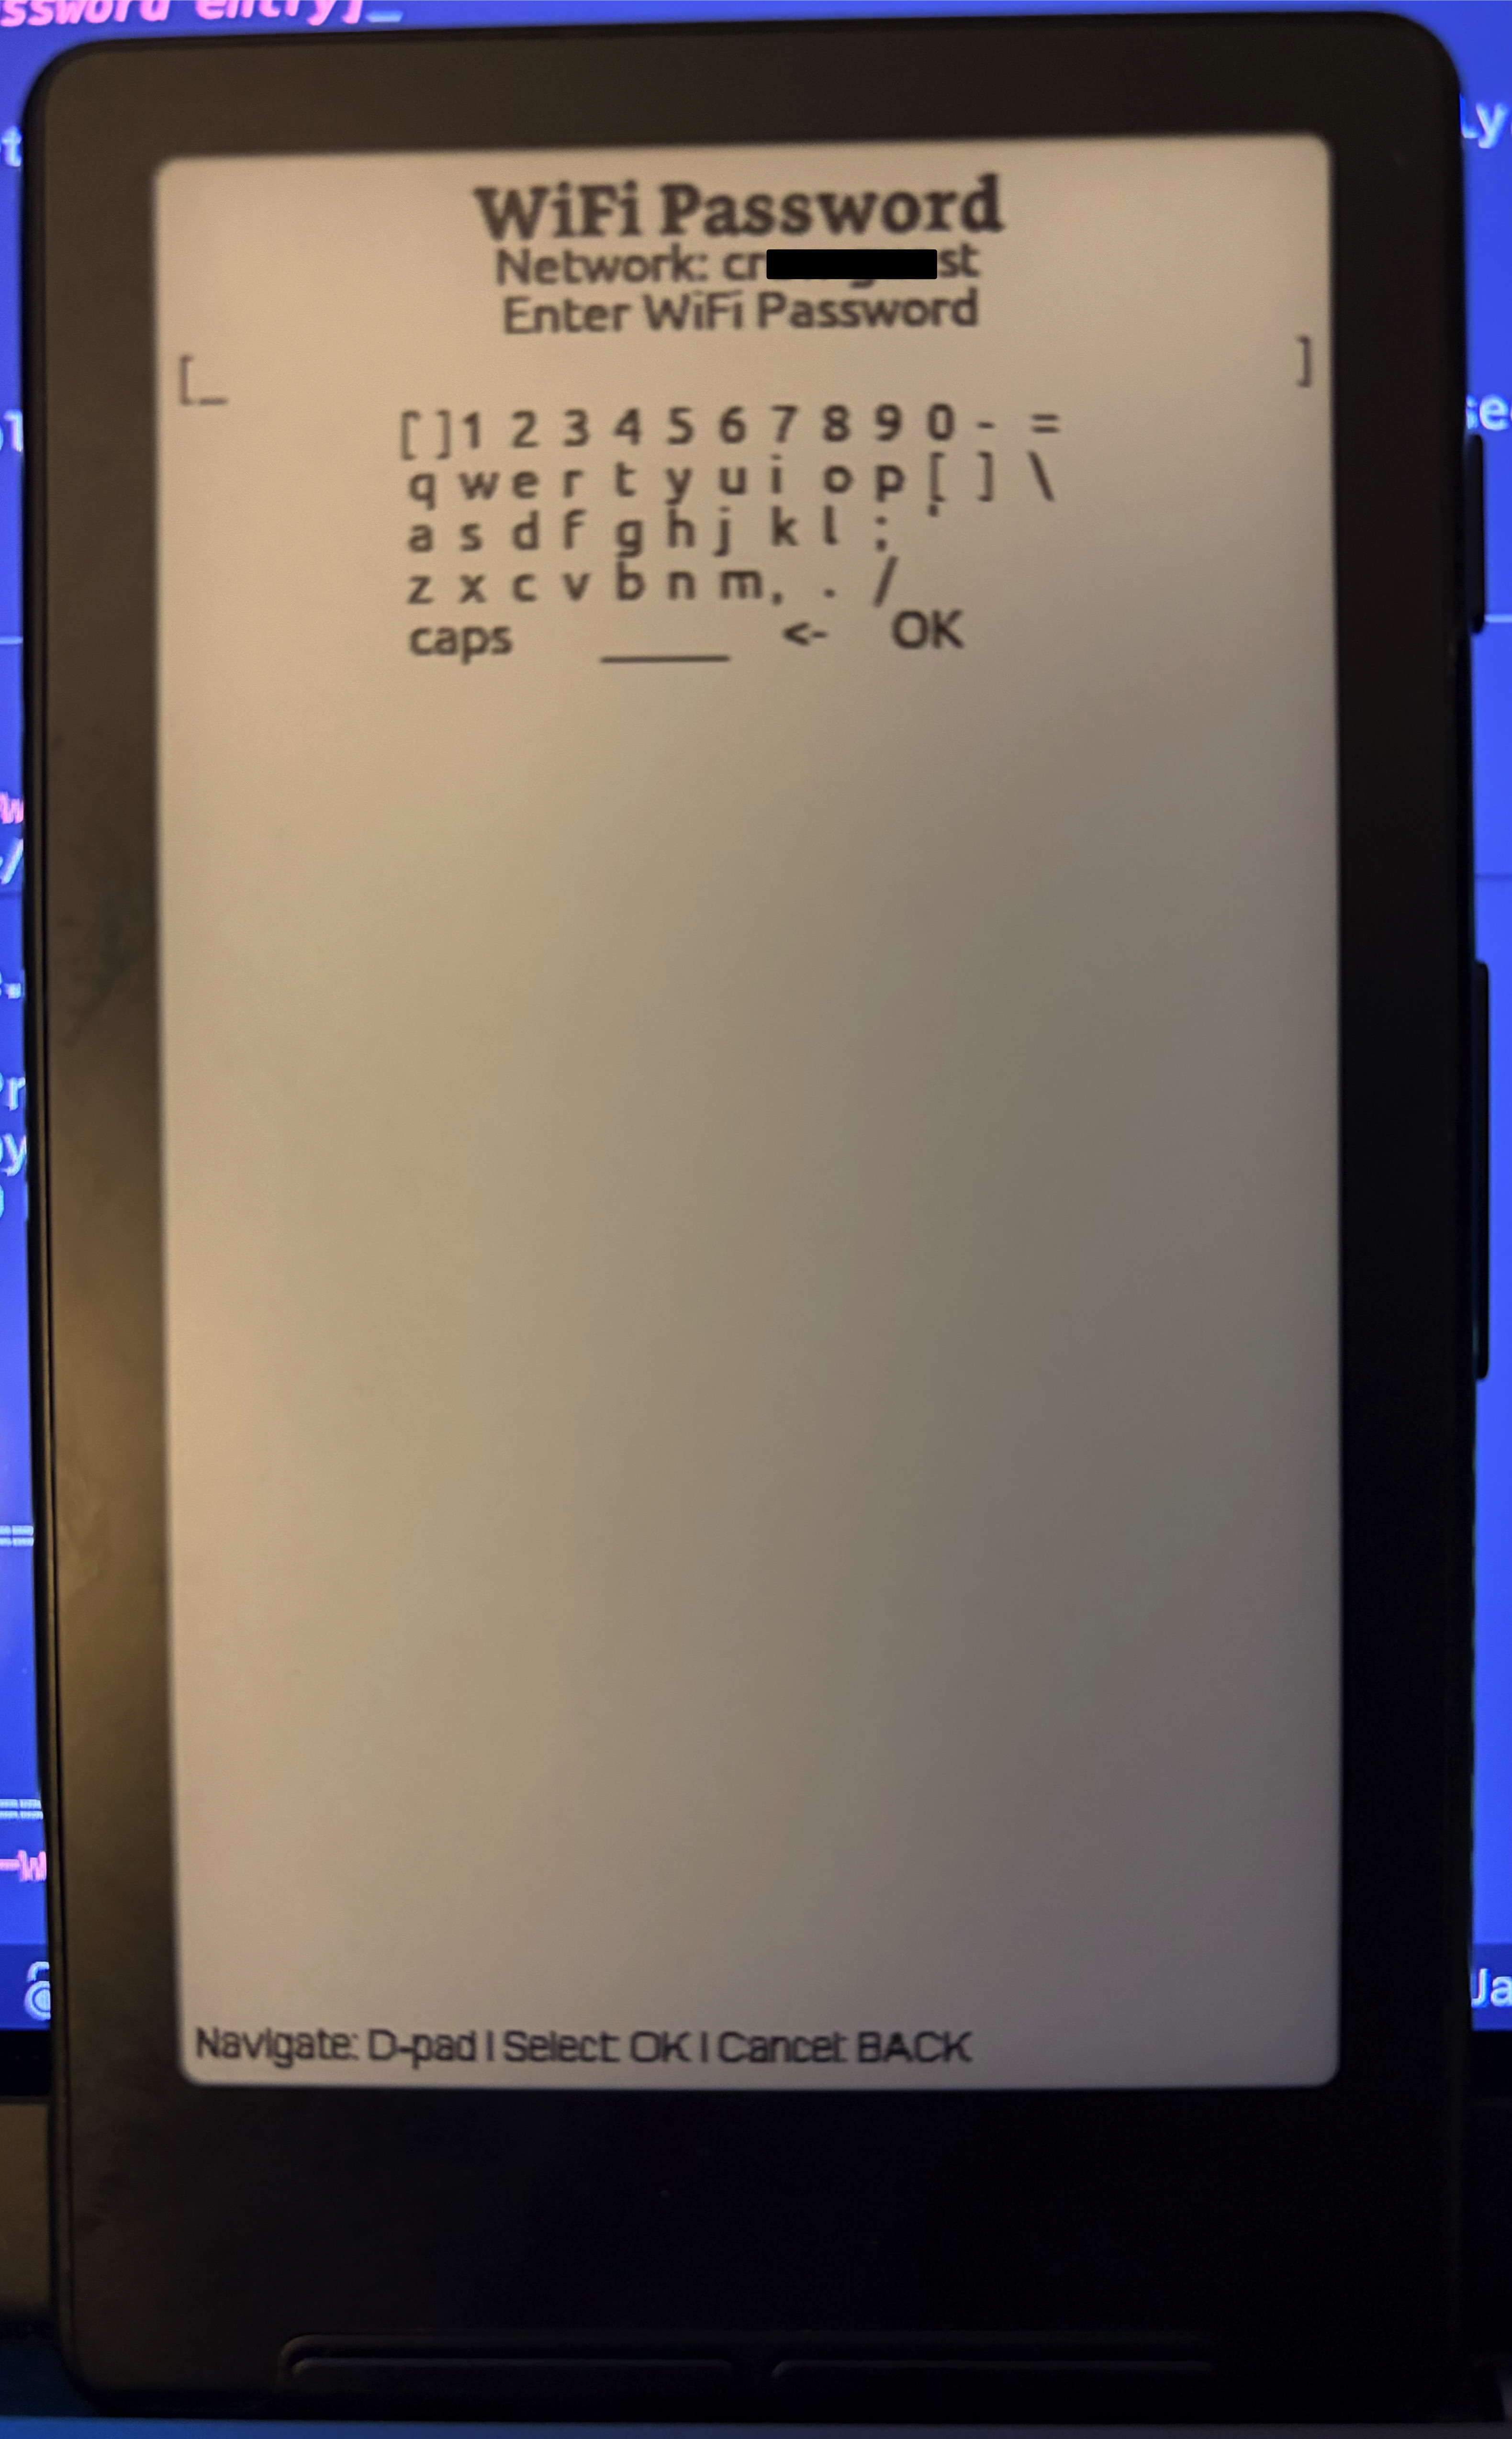
Entering Password (for encrypted networks)
If the network requires a password:
- An on-screen keyboard will appear
- Use the navigation buttons to select characters
- Press Confirm to enter each character
- When complete, select the Done option on the keyboard
Note: If you've previously connected to this network, the saved password will be used automatically.
Connection Process
The device will display "Connecting..." while establishing the connection. This typically takes 5-10 seconds.
Saving Credentials
If this is a new network, you'll be prompted to save the password:
- Select Yes to save credentials for automatic connection next time (NOTE: These are stored in plaintext on the device's SD card. Do not use this for sensitive networks.)
- Select No to connect without saving
Step 3: Connection Success
Once connected, the screen will display:
- Network name (SSID)
- IP Address (e.g.,
192.168.1.102) - Web server URL (e.g.,
http://192.168.1.102/)
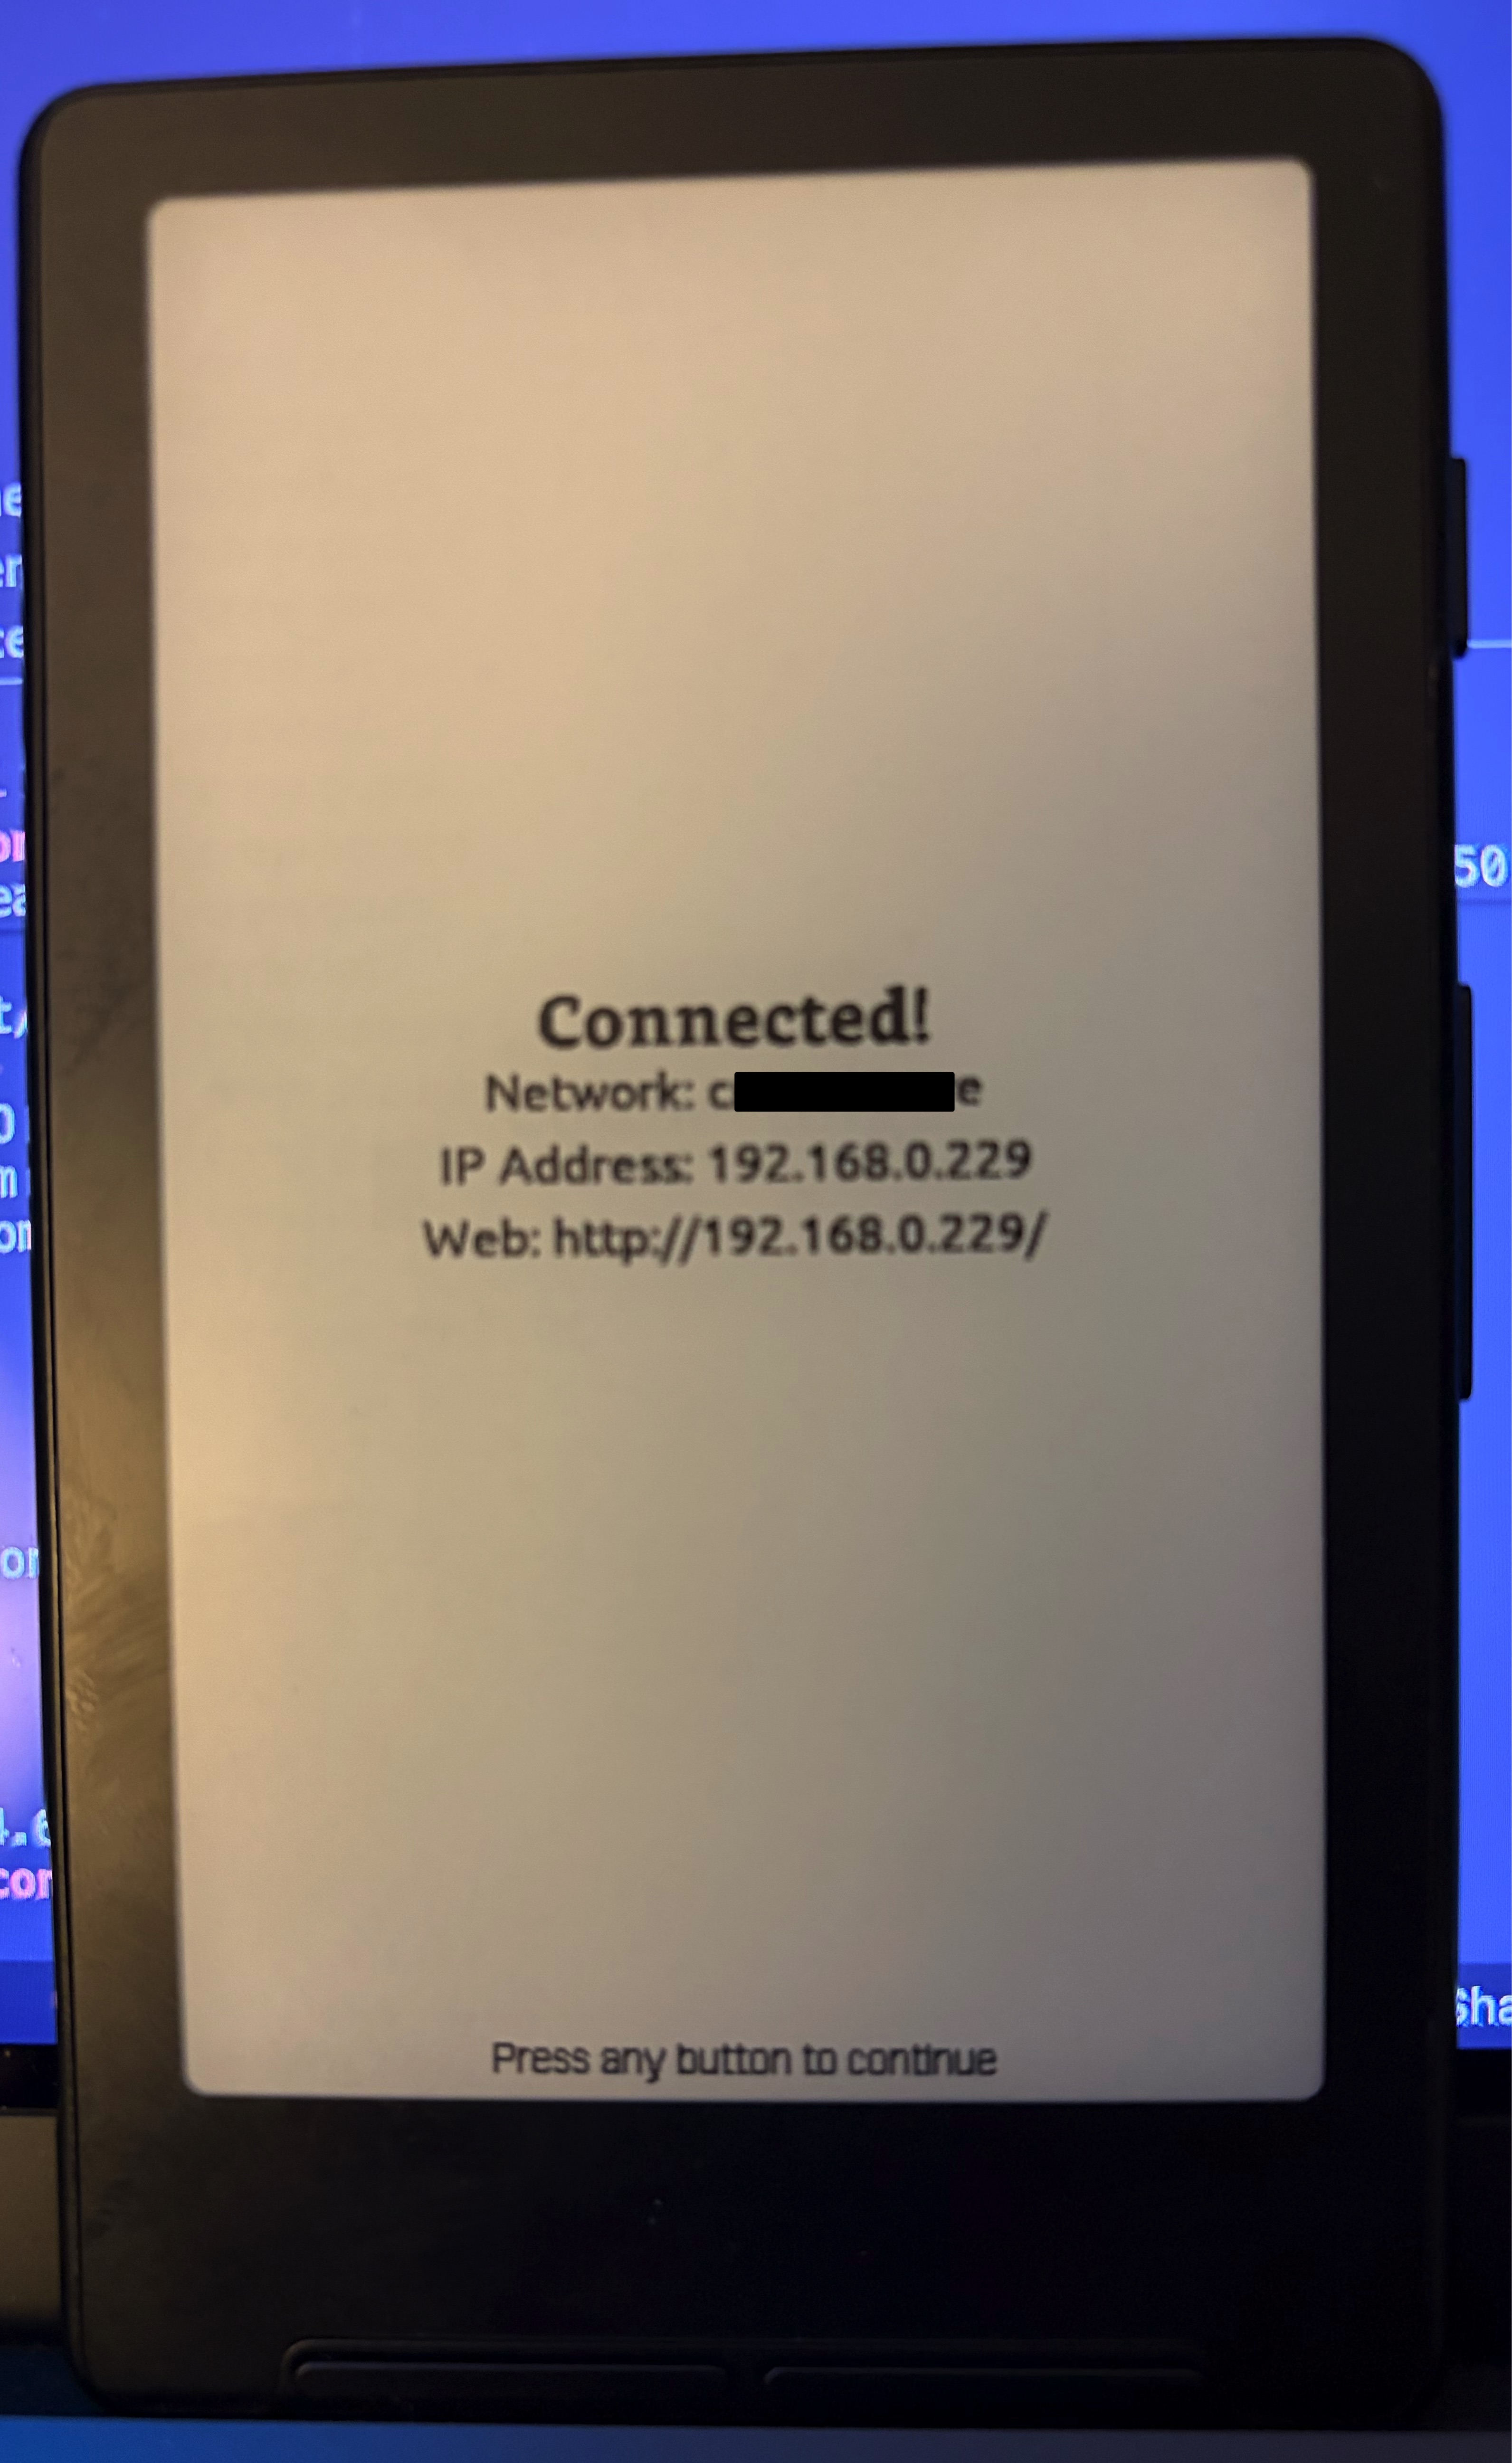
Important: Make note of the IP address - you'll need this to access the web interface from your computer or phone.
Step 4: Accessing the Web Interface
From a Computer
- Ensure your computer is connected to the same WiFi network as your CrossPoint Reader
- Open any web browser (Chrome is recommended)
- Type the IP address shown on your device into the browser's address bar
- Example:
http://192.168.1.102/
- Example:
- Press Enter
From a Phone or Tablet
- Ensure your phone/tablet is connected to the same WiFi network as your CrossPoint Reader
- Open your mobile browser (Safari, Chrome, etc.)
- Type the IP address into the address bar
- Example:
http://192.168.1.102/
- Example:
- Tap Go
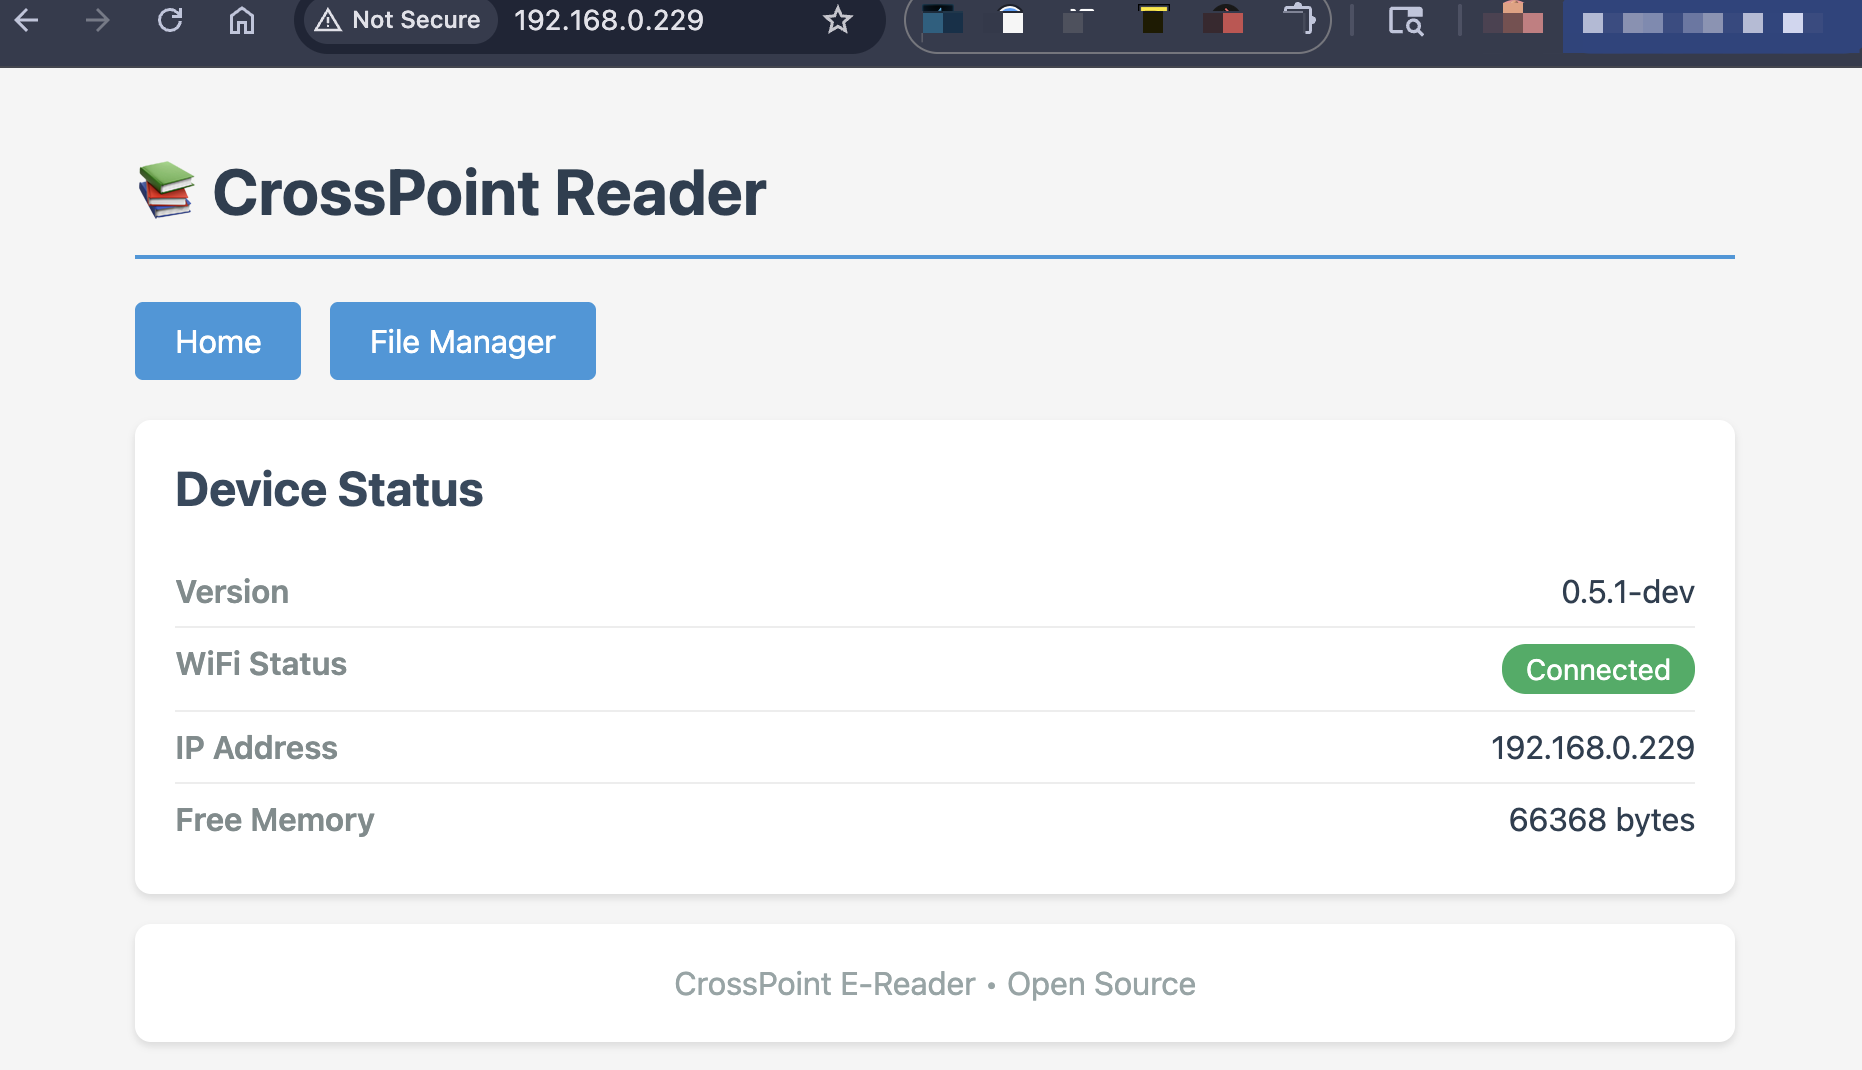
Step 5: Using the Web Interface
Home Page
The home page displays:
- Device status and version information
- WiFi connection status
- Current IP address
- Available memory
Navigation links:
- Home - Returns to the status page
- File Manager - Access file management features
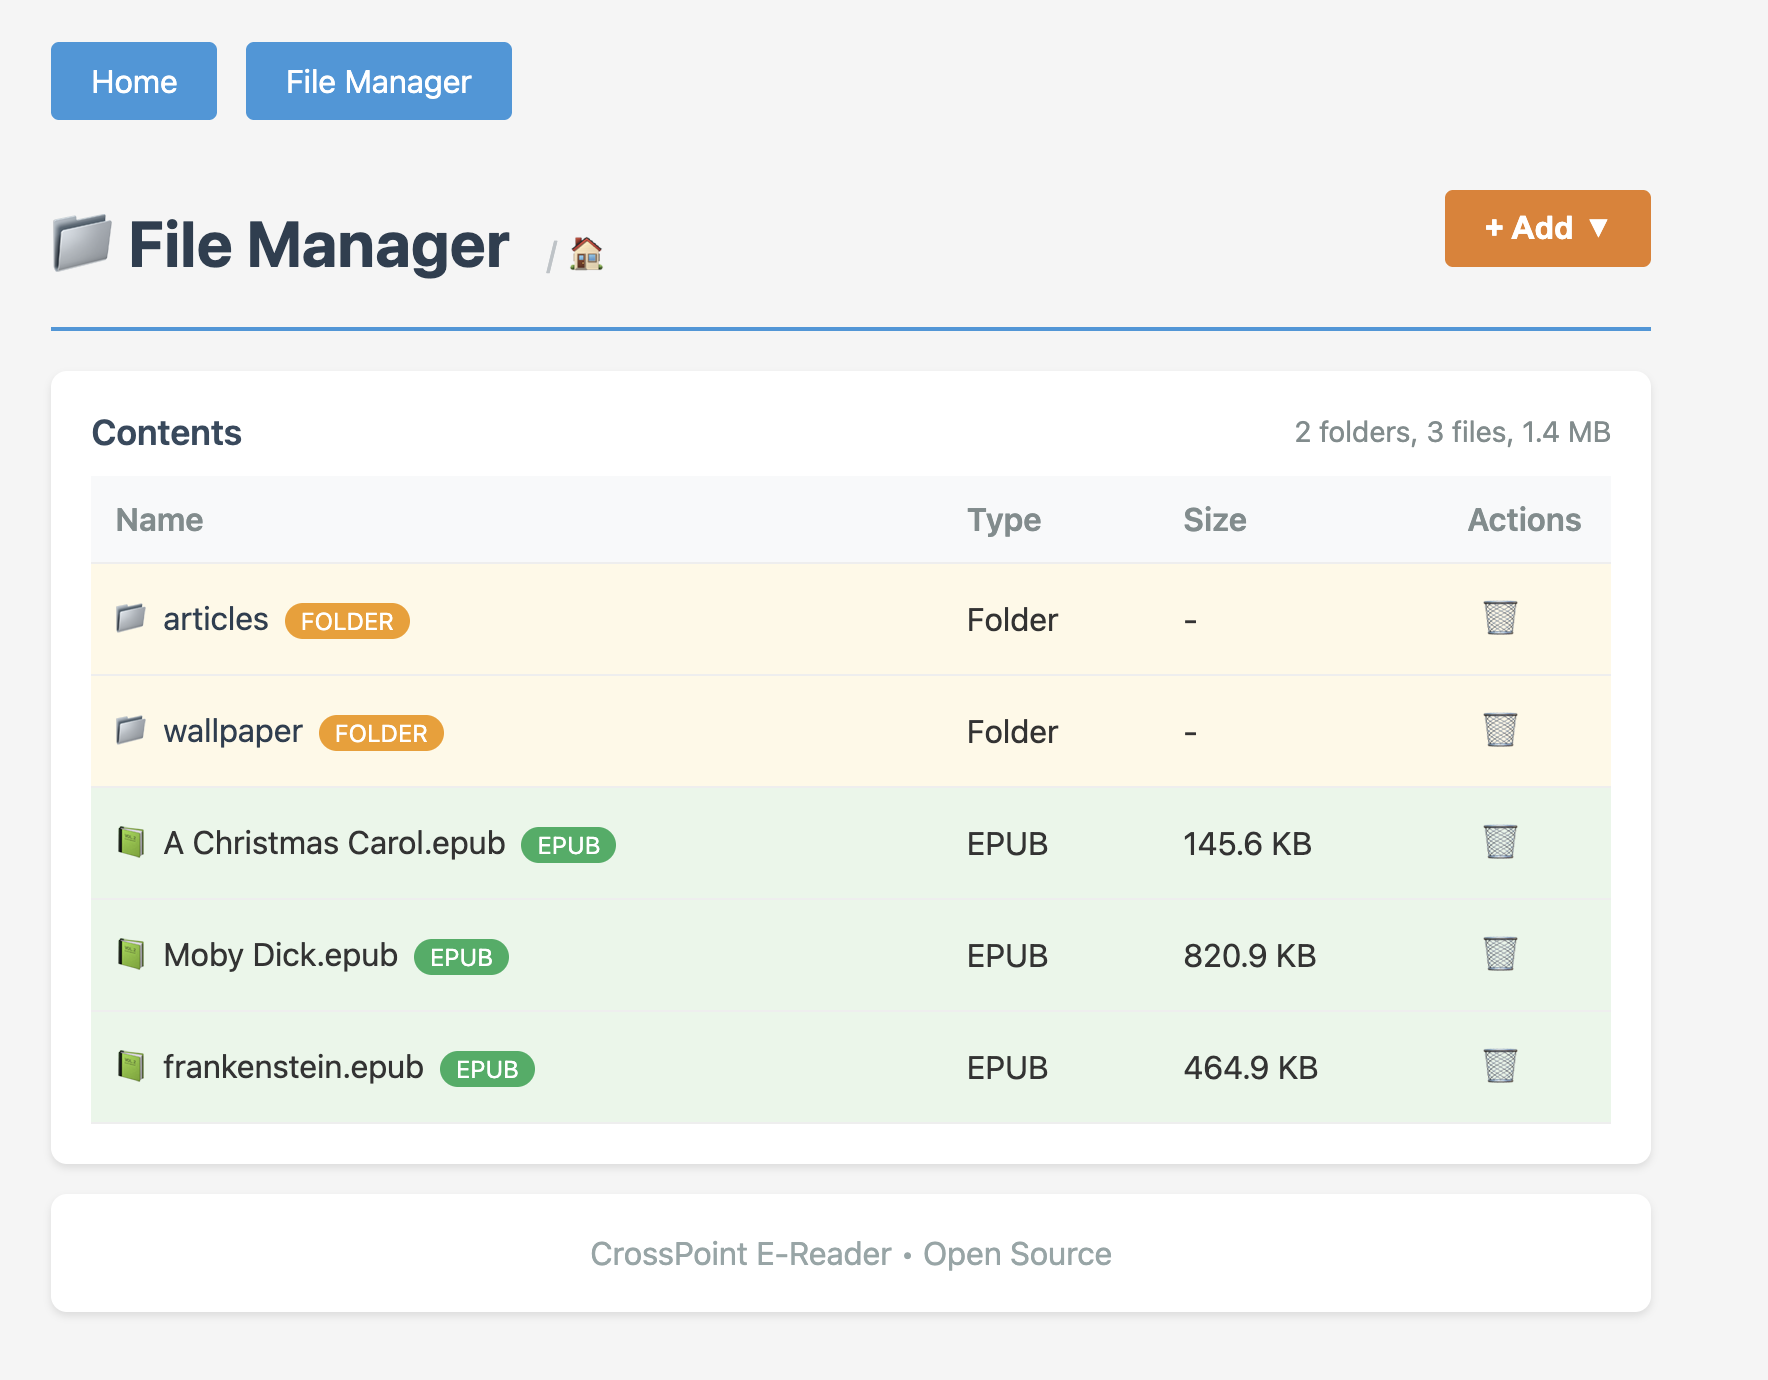
File Manager
Click File Manager to access file management features.
Browsing Files
- The file manager displays all files and folders on your SD card
- Folders are highlighted in yellow with a 📁 icon
- EPUB files are highlighted in green with a 📗 icon
- Click on a folder name to navigate into it
- Use the breadcrumb navigation at the top to go back to parent folders
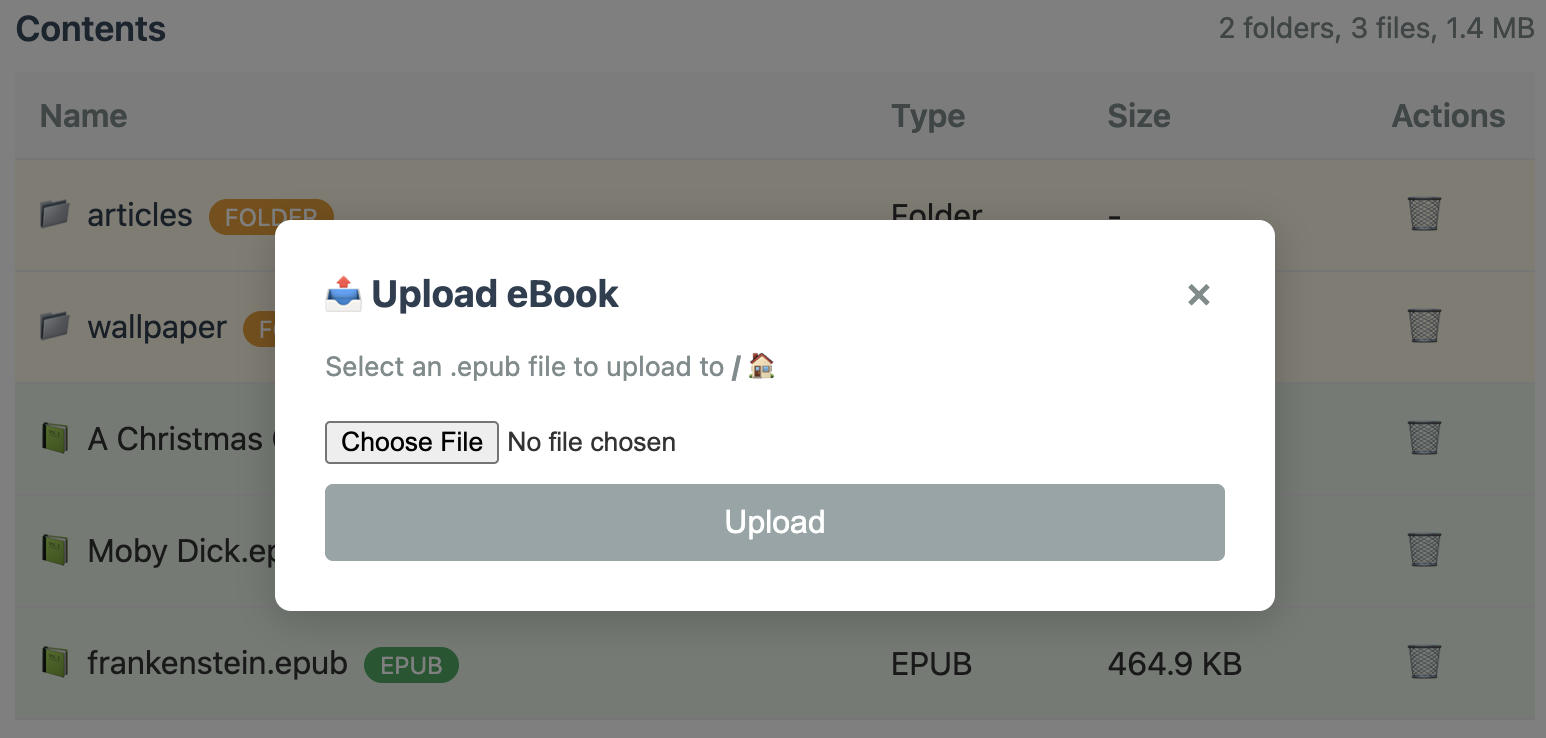
Uploading EPUB Files
- Click the + Add button in the top-right corner
- Select Upload eBook from the dropdown menu
- Click Choose File and select an
.epubfile from your device - Click Upload
- A progress bar will show the upload status
- The page will automatically refresh when the upload is complete
Note: Only .epub files are accepted. Other file types will be rejected.
Creating Folders
- Click the + Add button in the top-right corner
- Select New Folder from the dropdown menu
- Enter a folder name (letters, numbers, underscores, and hyphens only)
- Click Create Folder
This is useful for organizing your ebooks by genre, author, or series.
Deleting Files and Folders
- Click the 🗑️ (trash) icon next to any file or folder
- Confirm the deletion in the popup dialog
- Click Delete to permanently remove the item
Warning: Deletion is permanent and cannot be undone!
Note: Folders must be empty before they can be deleted.
Troubleshooting
Cannot See the Device on the Network
Problem: Browser shows "Cannot connect" or "Site can't be reached"
Solutions:
- Verify both devices are on the same WiFi network
- Check your computer/phone WiFi settings
- Confirm the CrossPoint Reader shows "Connected" status
- Double-check the IP address
- Make sure you typed it correctly
- Include
http://at the beginning
- Try disabling VPN if you're using one
- Some networks have "client isolation" enabled - check with your network administrator
Connection Drops or Times Out
Problem: WiFi connection is unstable
Solutions:
- Move closer to the WiFi router
- Check signal strength on the device (should be at least
||or better) - Avoid interference from other devices
- Try a different WiFi network if available
Upload Fails
Problem: File upload doesn't complete or shows an error
Solutions:
- Ensure the file is a valid
.epubfile - Check that the SD card has enough free space
- Try uploading a smaller file first to test
- Refresh the browser page and try again
Saved Password Not Working
Problem: Device fails to connect with saved credentials
Solutions:
- When connection fails, you'll be prompted to "Forget Network"
- Select Yes to remove the saved password
- Reconnect and enter the password again
- Choose to save the new password
Security Notes
- The web server runs on port 80 (standard HTTP)
- No authentication is required - anyone on the same network can access the interface
- The web server is only accessible while the WiFi screen shows "Connected"
- The web server automatically stops when you exit the WiFi screen
- For security, only use on trusted private networks
Technical Details
- Supported WiFi: 2.4GHz networks (802.11 b/g/n)
- Web Server Port: 80 (HTTP)
- Maximum Upload Size: Limited by available SD card space
- Supported File Format:
.epubonly - Browser Compatibility: All modern browsers (Chrome, Firefox, Safari, Edge)
Tips and Best Practices
- Organize with folders - Create folders before uploading to keep your library organized
- Check signal strength - Stronger signals (
|||or||||) provide faster, more reliable uploads - Upload multiple files - You can upload files one at a time; the page refreshes after each upload
- Use descriptive names - Name your folders clearly (e.g., "SciFi", "Mystery", "Non-Fiction")
- Keep credentials saved - Save your WiFi password for quick reconnection in the future
- Exit when done - Press Back to exit the WiFi screen and save battery
Exiting WiFi Mode
When you're finished uploading files:
- Press the Back button on your CrossPoint Reader
- The web server will automatically stop
- WiFi will disconnect to conserve battery
- You'll return to the previous screen
Your uploaded files will be immediately available in the file browser!
Related Documentation
- User Guide - General device operation
- README - Project overview and features